Fax page displays all faxes received by PBXware and the ones transferred to remote systems as well.
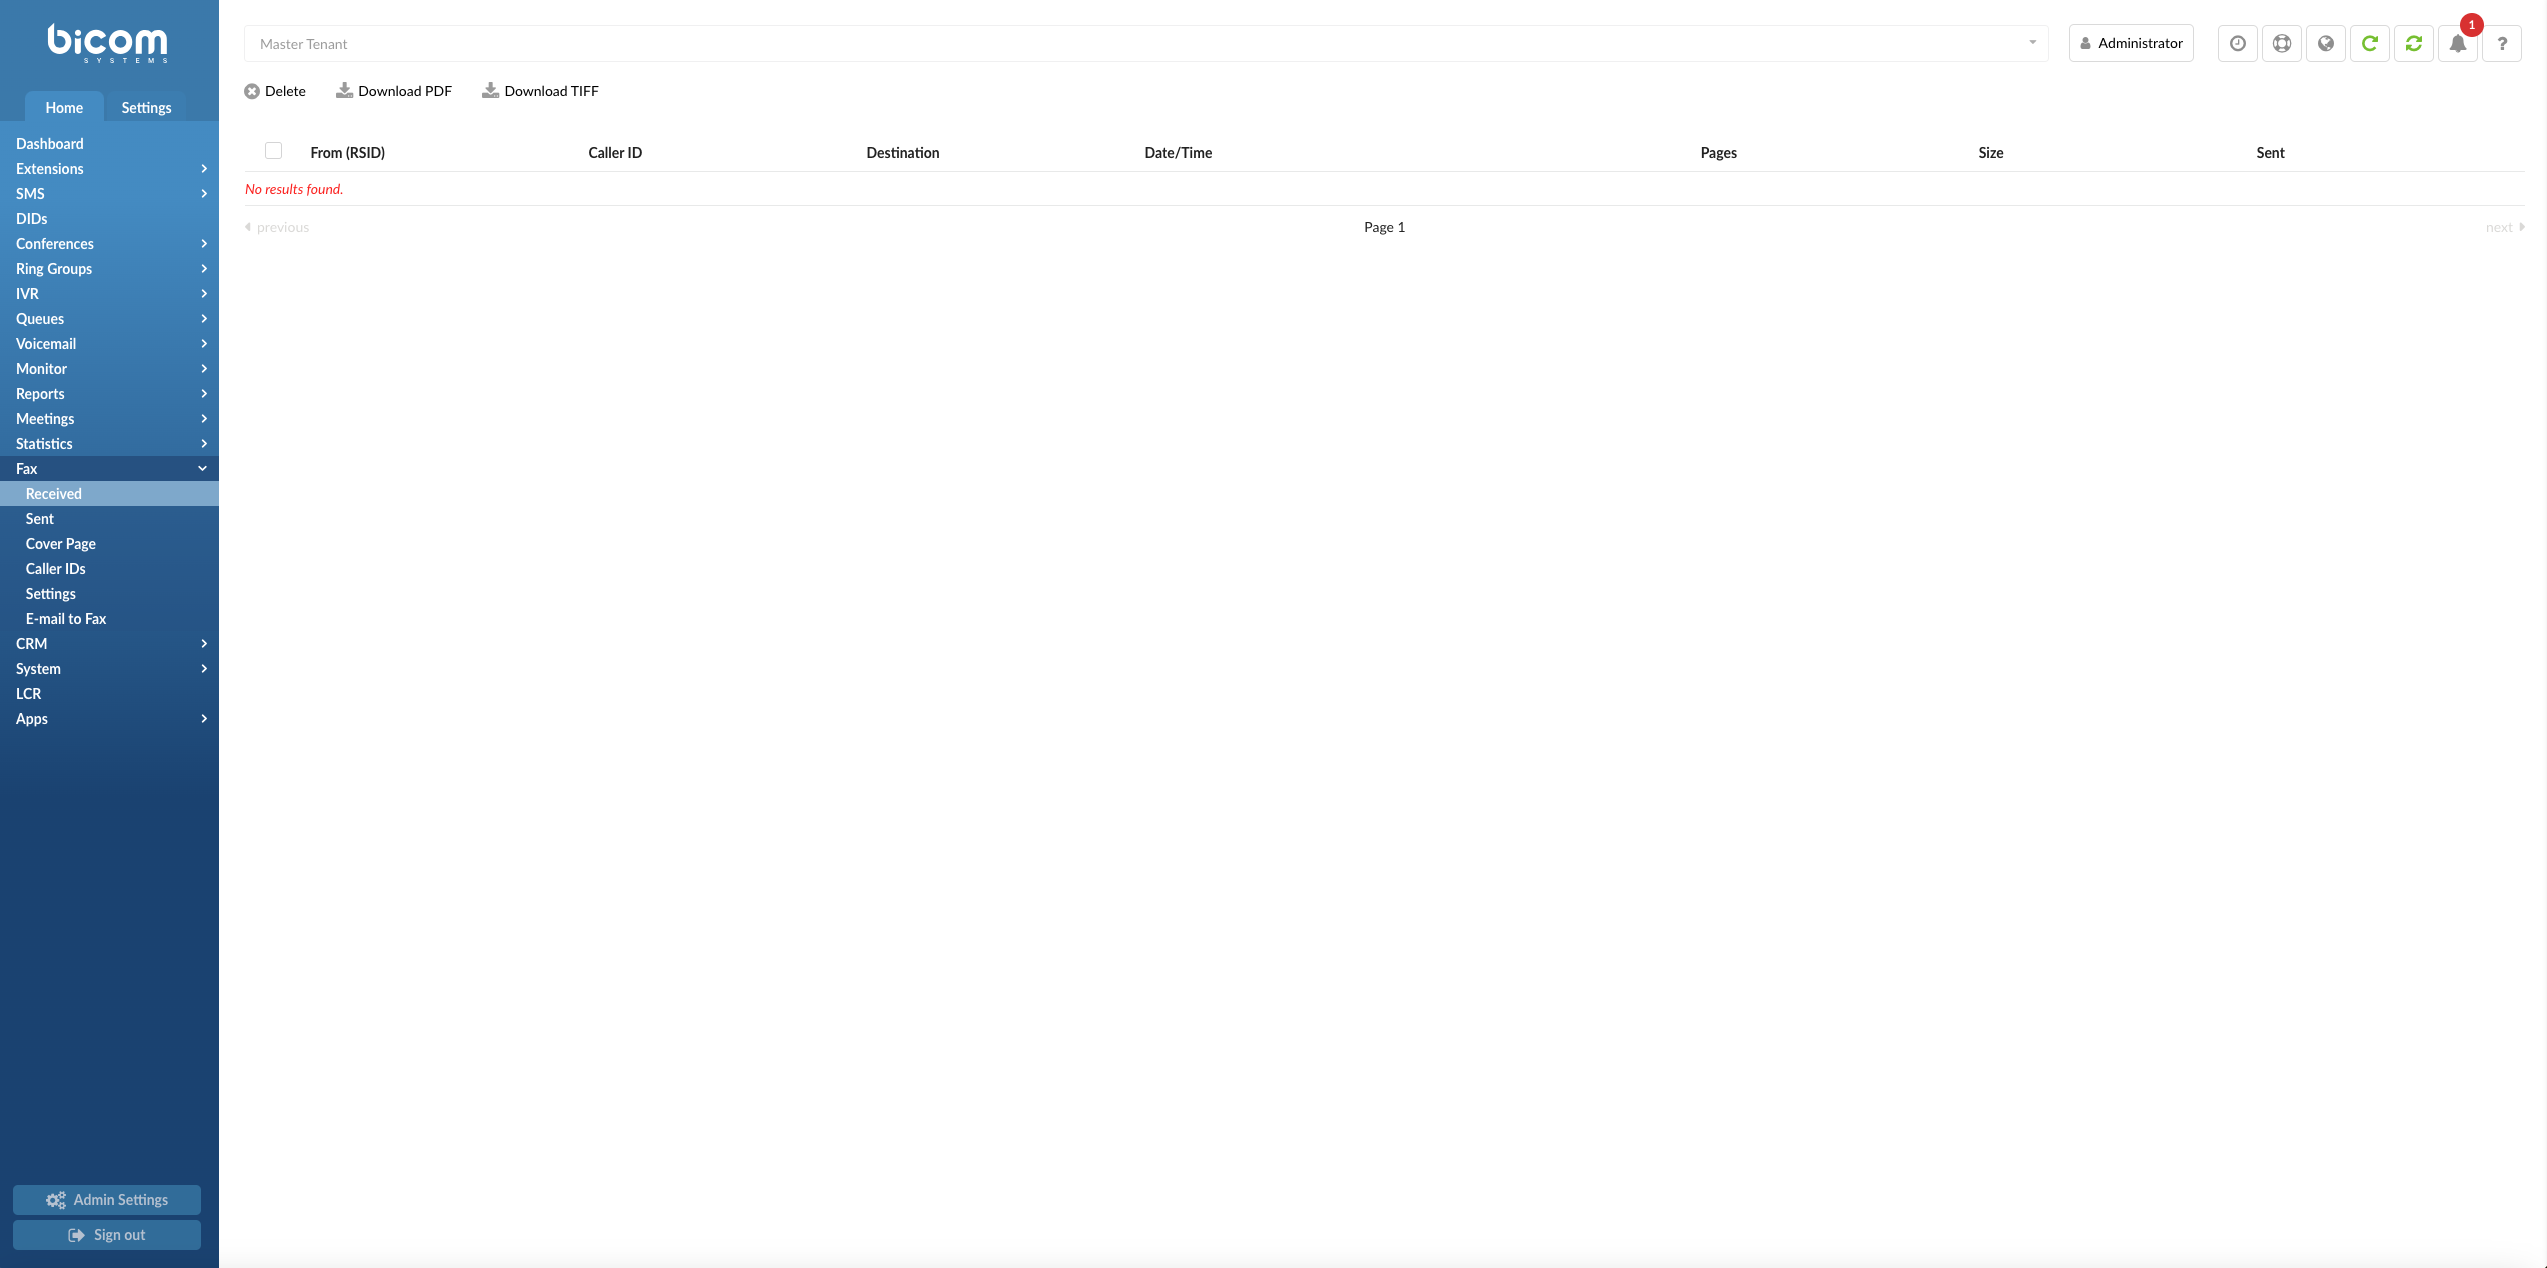
Received
- Delete
With the Delete button you will remove the selected fax(es) from the list
(Button)
- Download PDF
Download the selected fax(es) as a PDF file
(Button)
- Download TIFF
Download the selected fax(es) as a TIFF file
(Button)
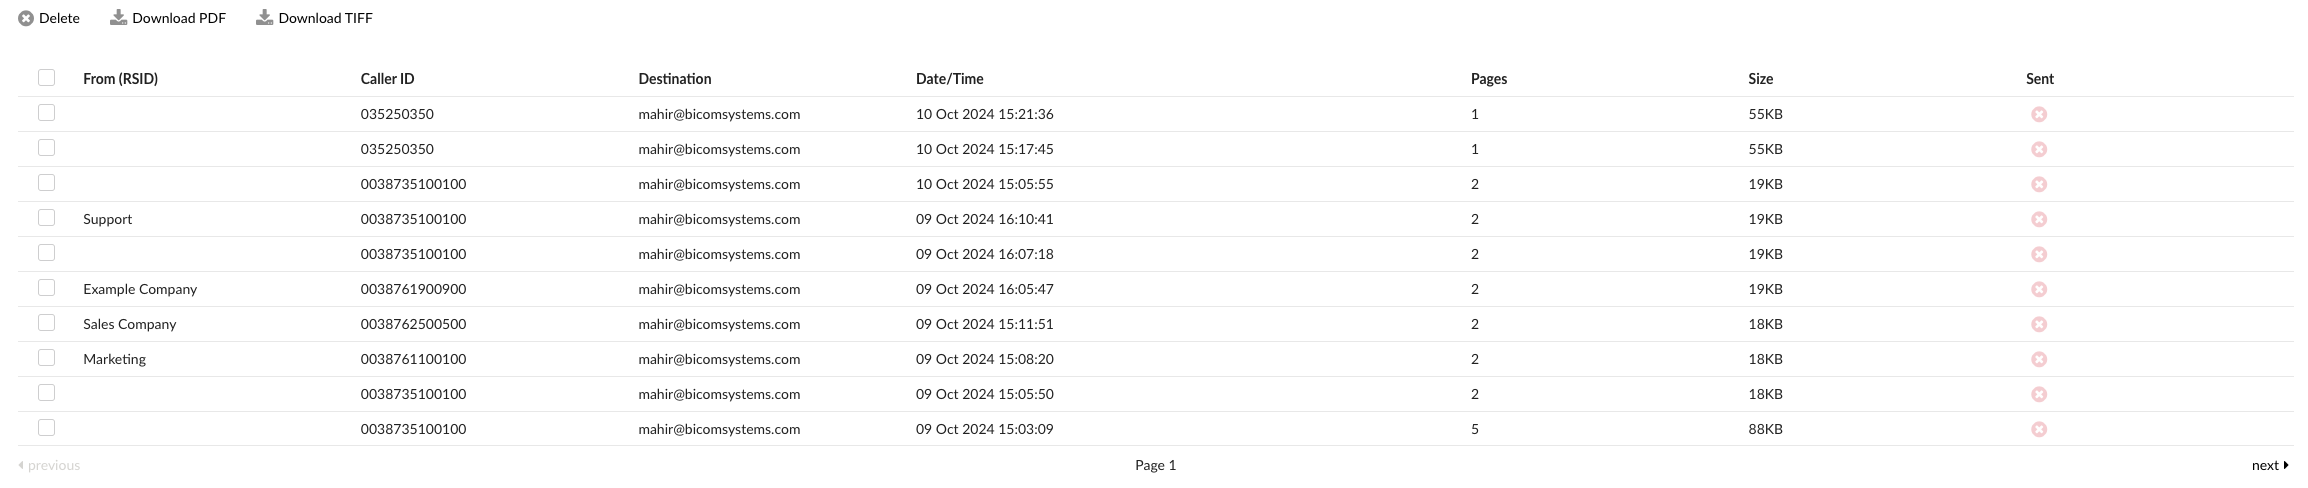
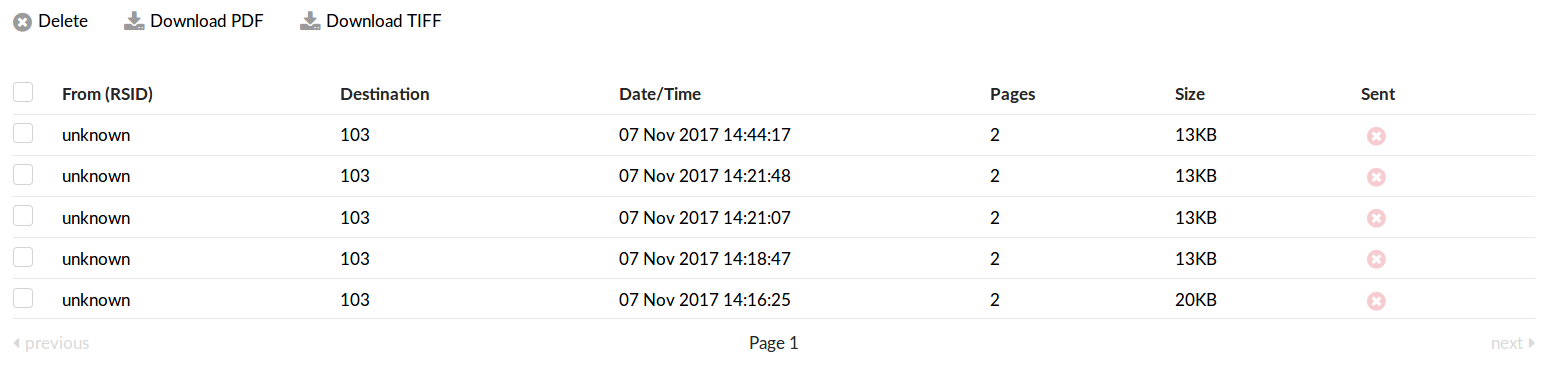
This screen lists all faxes received by PBXware with the following details
- From (RSID)
Fax sender identifier
(E.g., Example Company)
(Display)
- Caller ID
Caller ID number from which the call originated.
(E.g., 032445231)
(Display)
- Destination
The Email address to which the attached fax was sent. If the extension number is displayed here, the fax is sent to the email address associated with the extension
(E.g. email@domain.com|1001)
(Display)
- Date/Time
Date/Time fax was received
(E.g. 04 May 2019 12:48:12)
(Display)
- Pages
Number of pages in the received fax
(E.g. 1)
(Display)
- Size
Fax size in KB
(E.g. 14KB)
(Display)
- Sent
Shows whether the fax was sent remotely or not
(E.g. The red icon indicates local and the green one indicates the remote fax destination)
(Display)
 Box used for download/delete fax actions
(E.g. Select this box and click ‘Download’ button to download the selected fax)
(Option button)
Sent
- Delete
With Delete button you will remove selected fax(es) from the list
(Button)
- Download PDF
Download selected fax(es) as a PDF file
(Button)
- Download TIFF
Download selected fax(es) as a TIFF file
(Button)
This screen lists all faxes sent from PBXware with the following details
- From
Extension number from which the fax was sent
(E.g. 1005)
(Display)
- Destination
External Number which the attached fax was sent to.
(E.g. 032445231)
(Display)
- Sent Pages
Number of fax pages that were sent successfully.
(E.g. 5)
(Display)
- Total Pages
Total number of pages selected fax consist of.
(E.g. 5)
(Display)
- Status
Sent fax status, describing whether the fax was sent successfully or not.
(Successful)
(Display)
- Date/Time
Date/Time fax was sent
(E.g. 04 May 2019 12:48:12)
- Box used for download/delete fax actions
(E.g. Select this box and click ‘Download’ button to download the selected fax)
(Option button)
Remote Fax
These options allow PBXware to transfer all incoming faxes to other systems. In order to do so, be sure to set the following options under the incoming DID (‘Destination’=’Fax to Email’, ‘Value’=’remote:fax’) and then provide the necessary remote system information here as follows

- Remote PBXware:
The IP address of the remote system that is to receive the fax
(E.g. 192.168.8.253)
([0-9])
- Remote Port:
Port on remote system used for communication
(E.g. 10001)
([0-9])
- PBXware Username:
Remote system daemon username (‘Settings: Servers: Edit: Daemon Username’)
(E.g. admin)
([0-9][a-z])
- PBXware Password:
Remote system daemon password (‘Settings: Servers: Edit: Daemon Password’)
(E.g. as90d7F8Q)
([0-9][a-z])
- Remote Fax Number:
Extension number that will be displayed as fax sender.
(E.g. 035221846)
([0-9])
Cover Page
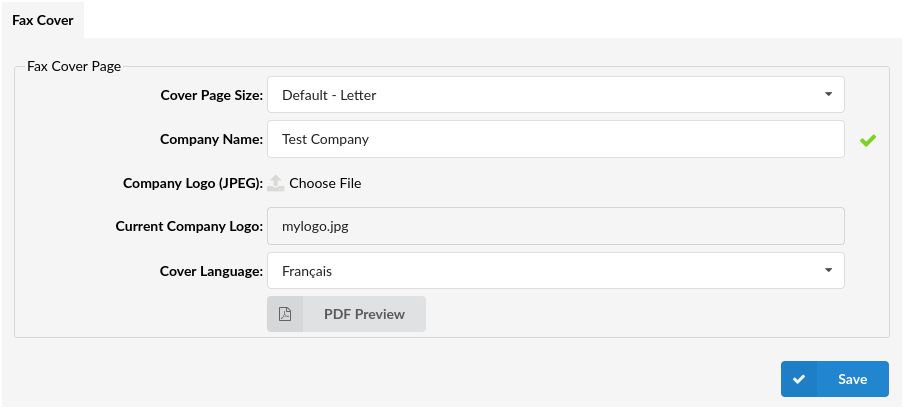
This page will allow users to set up Cover page according to their preference. It is possible to change Cover Page Size (A4, Legal, Letter) as well as Company name and to upload Company logo that will be displayed in Cover page.
Fax Cover Page
- Cover Page Size
Set size of cover page
(E.g. A4)
(Select box)
- Company Name
Set company name which will be used on cover page for Faxes
(E.g. Bicom Systems)
([a-z][0-9])
- Company Logo (JPEG)
Upload Company logo
(Button)
- Current Company Logo
Shows the file name of current company logo
(Read only)
- Cover Language (6.6.1)
Set the language of a cover page
(Select Box)
- PDF Preview
Open new window with with example how Cover page will look using settings from this section
(Button)
Caller IDs
GloCOM users can choose caller IDs, from a predefined list in PBXware, for use when sending a FAX.

- CSV Upload
There is an option to upload CSV file instead of manually entering Caller IDs. Please make sure that CSV file contain comma separated Caller IDs and labels per each line (callerid,label), like in example below:
- 032445231,Fax Caller ID 1
- 032445232,Fax Caller ID 2
(Button)
- CSV Download
Download list of defined Fax Caller IDs into CSV File
(Button)
- Download CSV Template
Download CSV Template button will present you with a file that already contains necessary headers which should help you create CSV file easier
(Button)
- Search
In search section you can find your Fax Caller IDs by typing its Number or Label
([a-z][0-9])
This screen lists all Fax Caller IDs with the following details
- Caller ID
Unique Fax Caller ID Numbe
(Display)
- Label
Fax Caller ID label
(Display)
 Edit
Edit
Edit Fax Caller ID configuration
(Button)
 Delete
Delete Fax Caller ID from the system
(Button)
Add/Edit Fax Caller ID
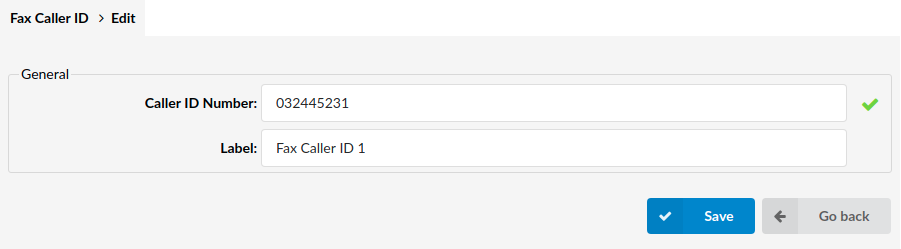
General
- Caller ID Number
Unique Fax Caller ID Number
(E.g. 032445231)
([0-9])
- Label
Label which will be show in gloCOM for this Caller ID
(E.g. John Doe)
([a-z][0-9])
Settings
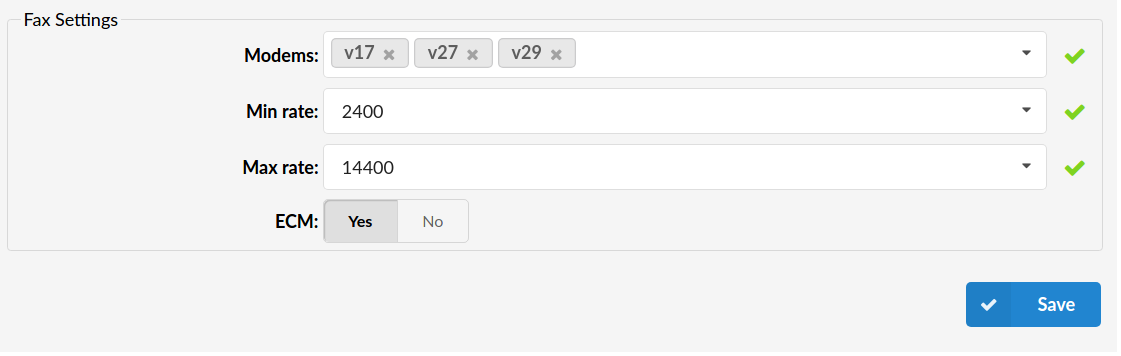
- Modems
Supported versions of modems.
(Select box)
- Min Rate
Minimal BPS rate.
(E.g. 2400)
([0-9])
- Max Rate
Maximal BPS rate.
(E.g. 14400)
([0-9])
- ECM
Error Correction Mode (ECM) automatically detects and corrects errors in the fax transmission process.
(Option buttons)
E-mail to Fax
This is a service that allows people to send faxes via e-mail.
Requires the e-mail to have the following structure:
- The e-mail subject represents a number where the fax will be sent to.
- The e-mail attachment will be the fax content that will be sent (the attachment must be in a PDF format).
NOTE: If the format is not PDF that e-mail will be skipped and deleted from the server.
NOTE: E-mail To Fax must be enabled in the license.
The e-mail can have multiple files attached, but there is a configurable limit on those files, default is max. 5 files per e-mail.
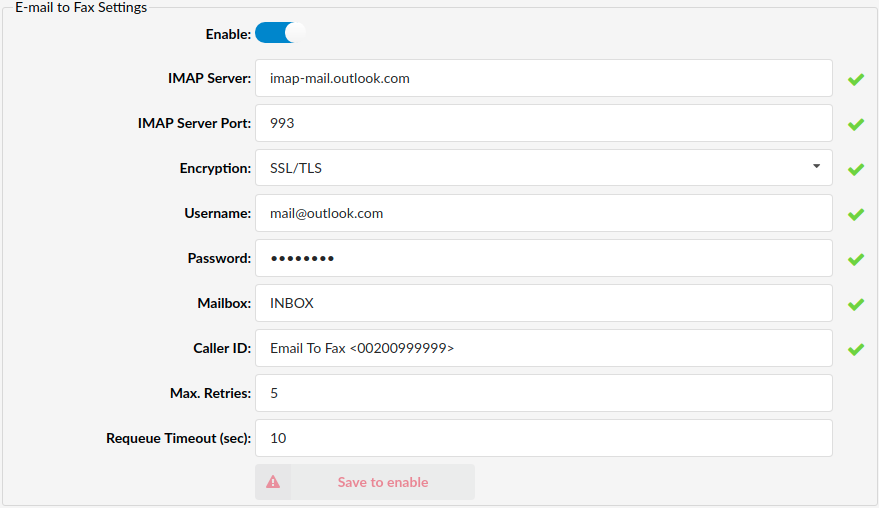
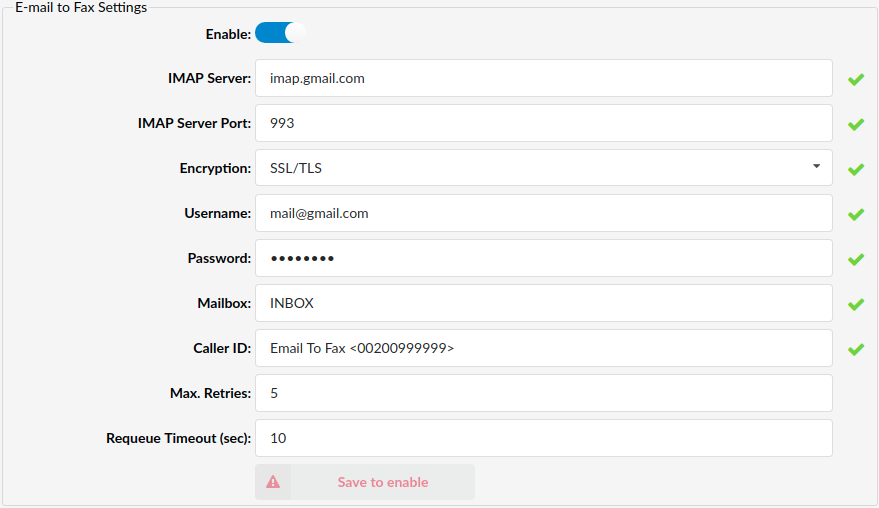
E-mail To Fax Setting
- Enabled
Enable/Disable E-mail to Fax feature.
(Slider)
- Authentication Type/Credential: (7.4)
This field allows you to select the authentication type you want to use with the e-mail server.
Available options are Basic, or OAuth (Google and Microsoft).
To use OAuth select one of the Oauth credentials from the dropdown list.
Once the OAuth credentials are selected, the email account will be autopopulated.
Basic Authentication
- IMAP Server
Hostname for the server we will be listening to.
This option is only available when Basic authentication is selected.
(E.g. imap.xyzmail.com)
- IMAP Server Port
Default 993 for TLS, 143 for STARTTLS
(E.g. 993)
This option is only available when Basic authentication is selected.
- Encryption
SSL/TLS or STARTTLS
This option is only available when Basic authentication is selected.
- Username
Email that the faxes will be sent to.
(E.g. mail@xyzmail.com)
This option is only available when Basic authentication is selected.
- Password
Password used for authentication on server.
This option is only available when Basic authentication is selected.
- E-mail account (7.2)
E-mail account you would like to use for sending FAX to E-mail messages from.
This option is only available when Google or Microsoft authentication is selected.
- Mailboxes
Email mailbox that we will be listening to. Default INBOX.
If the mailbox folder has a subfolder and you want to listen to that subfolder instead then set this field as FOLDER.SUBFOLDER1
(E.g. INBOX.EMAILTOFAX)
- Caller ID
Users can enter both the Caller ID name and the Caller ID number in this field which will be applied when using thisfeature.
(E.g. CallerID <16476990841>)
- Max Retries
Defines how many times we will try sending the fax before flagging it as failed. Default 3.
(E.g. 3)
([0-9])
- Requeue Timeout (sec)
This option defines the number of seconds after which a failed Fax try will be requeued.
(E.g. If you set this option to 20, then when a fax sending process fails, the message will be put back in the queue after 20 seconds instead of doing a retry right after.)
([0-9])
E-mail Notifications
- Enabled
Enable/Disable email notifications
(Slider)
- E-mail From
Email that will be set as FROM when sending a notification
(E.g. imap.gmail.com)
TIP: Notification Email can be defined via templates on Settings -> Email Templates -> Email To Fax
Trunks
This option lets you select the primary, secondary and tertiary trunk for the E-mail to Fax feature. These trunks override the trunks set on the tenant/server level. You can choose the ‘System default’ option for each of these trunks which reads from the tenant/server level.
E-mails Whitelist
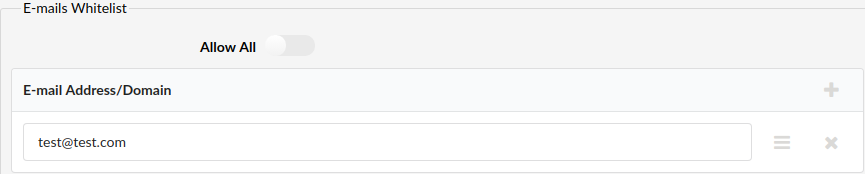
Users can define certain email addresses or domains so they are whitelisted thus limiting who can send pdf files to this email. You can also enter a domain where all email addresses from that domain would be allowed to send pdf files. Alas, there is an option ‘Allow all’ where all email addresses are validated and allowed to send pdf files.
NOTE: In order to whitelist an entire domain, you will need to add @ in front of the domain name (i.e. @gmail.com), otherwise, system will return the error “Please enter a valid E-mail/Domain.”.
Example Configurations
Gmail
Notes for Gmail Users
Some things need to be checked first before using the Gmail IMAP server. We need to enable IMAP and “less secure apps” option, because google needs to allow us to get the data from their servers.
Enabling IMAP
1. On your computer, open Gmail.
2. In the top right, click Settings Settings.
3. Click Settings.
4. Click the Forwarding and POP/IMAP tab.
5. In the “IMAP Access” section, select Enable IMAP.
6. Click Save Changes.
Enabling Less Secure Apps
1. Open Gmail Account
2. Go to Sign-in & security
3. Find option “Allow less secure apps” and set it to ON
After doing these two steps try testing the connection by clicking the “Test” button. If the test is successful then disable and re-enable the application using the “Enable” Toggle. This will make the app reconnect to the server and you can start using it.
Microsoft Outlook